

Leaf Postcard
Since Vickyth asked, I figured there must be some more of you out there who have been wondering how I did the green and purple leaves. So here is a little behind the scenes look at what I did. I do apologize because the purple and green leaf postcard is truly one of a kind. The background fabric that I used was just a scrap and it was barely bigger than the 4” x 6” needed for the postcards. But we will give it a run with a different background fabric.
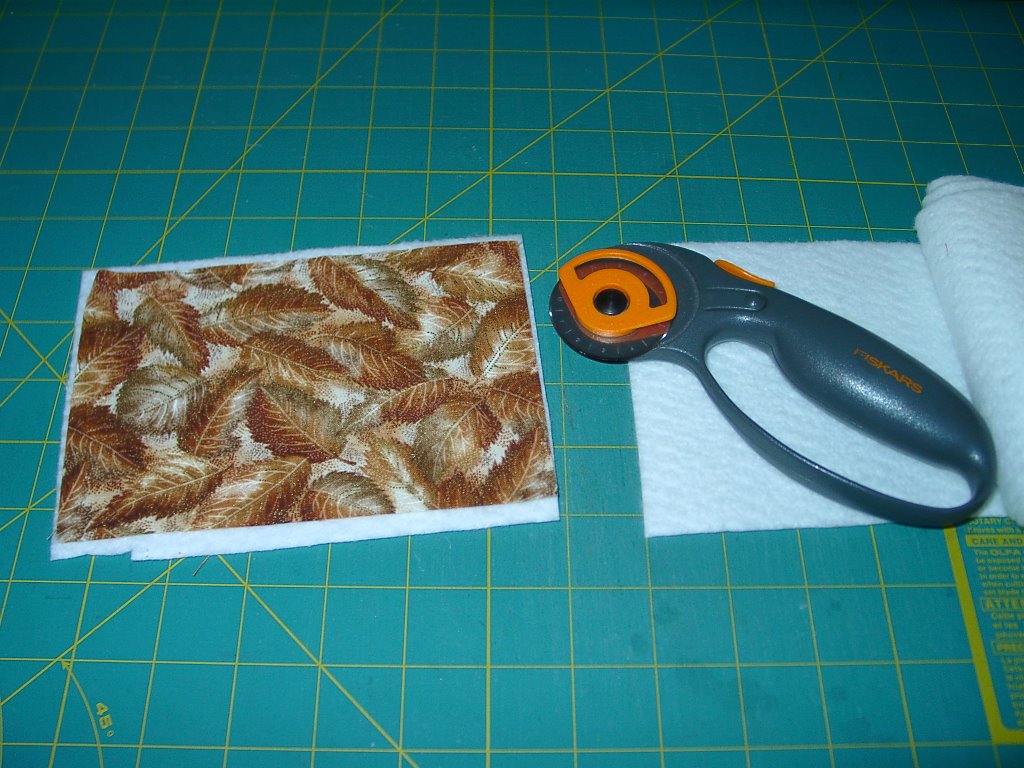
So the materials you will need is your background fabric, some scrap batting, a coffee filter, skeletal leaves, Steam a Seam 2, and Rayon thread to match.

Rough cut the background fabric and the batting to measure just a bit bigger than the desired 4”x 6” finished size.
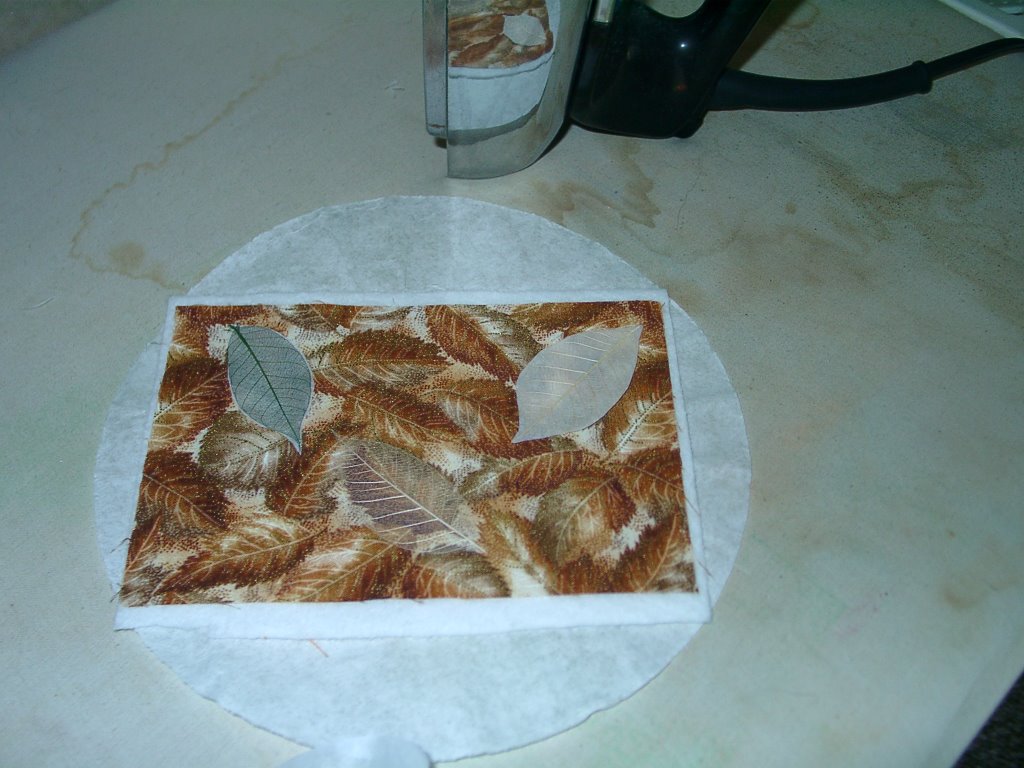
Fuse the skeletal leaves to the base fabric using the Steam a Seam 2. Be sure to cover the leaves with some release paper so that none of the fusible sticks to your iron.
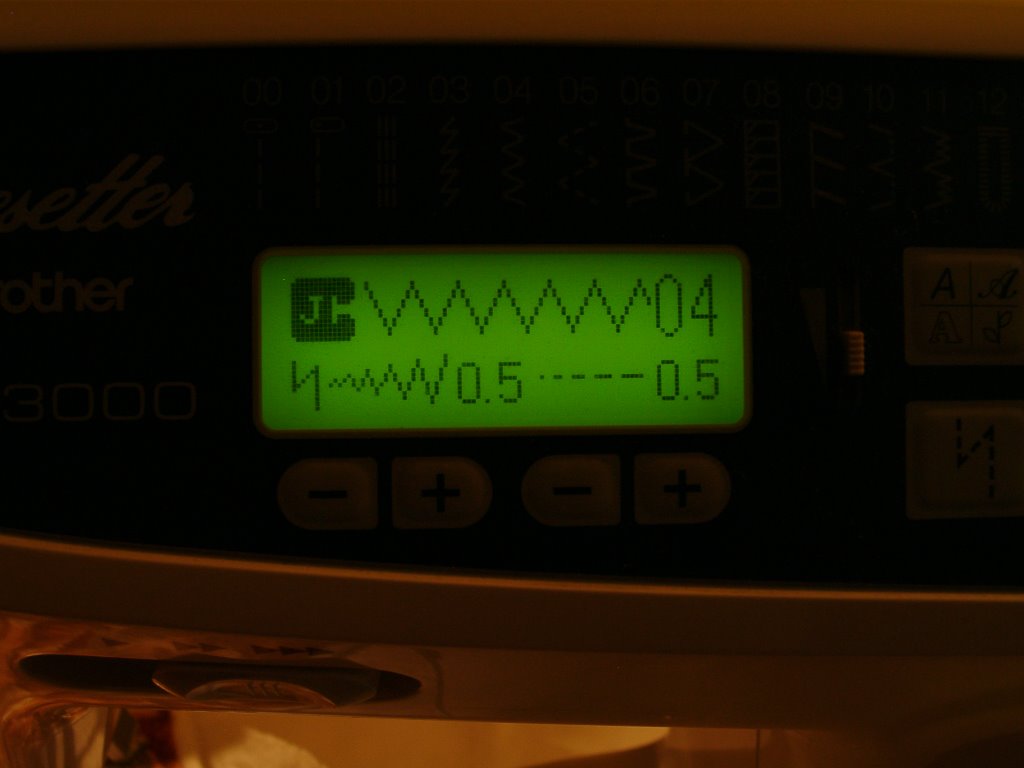
Layer the coffee filter, batting and background fabric together. I use the coffee filter to keep the batting from getting clogged up in the feed dogs and it helps keep the piece moving smoothly along as I stitch. I began using a coffee filter because they are always handy due to my coffee habit and they are relatively inexpensive, but you can use any other sort of stabilizer that you have to hand. I then use my machine’s zigzag stitch to outline around the leaf shape with the rayon thread. I also make sure to pull my top thread to the back of the piece. This keeps the top of the piece neat and tidy and since I will be covering the back I am not concerned with how it looks.

On my machine I choose the zigzag stitch and set the stitch length to .5, and the width to .5 as well. As I move around the outside shape I increase the width of the stitch gradually as I move around the curves and as I approach the end of the leaf I begin to decrease the stitch width. I try to take at least 2-4 stitches at each setting before increasing/decreasing the stitch width again. This gives a smooth continuous line, without noticeable gaps in the size. You may want to try your machines satin stitch for this. I did not like the results I got using the satin stitch on my machine.
If you do not like the results of your first pass, go over it again. I often go back over a second or third time to get a thicker line around the leaf shape, making sure that I overlap the second pass onto the existing line. Next I go in and create the veins of the leaves, once again making sure to pull my top thread to the back of the piece and adjusting the width of the zigzag as needed.
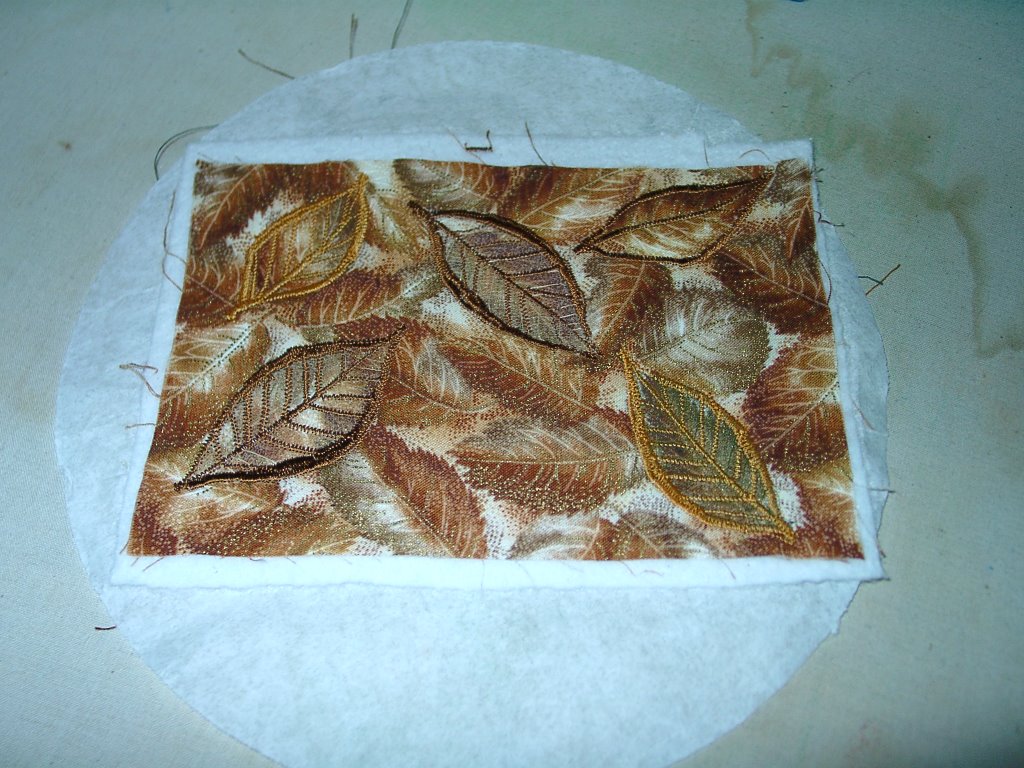
Ta-Da. There it is, now it is just a matter of finishing your postcard as you wish.
I cannot endure to waste anything as precious as autumn sunshine by staying in the house. So I spend almost all the daylight hours in the open air. —Nathaniel Hawthorne
posted by Linda J. Huff | 8:42 AM
![]()
0 Comments:
Post a Comment
<< Home